


Travel photography blends adventure with technical skill. Capturing expansive landscapes and elusive wildlife demands preparation, an understanding of light, solid composition, and respect for the natural world. Whether you are exploring national parks, remote wilderness, or coastal regions, the right approach turns ordinary scenes into compelling images. This guide covers practical techniques drawn from established photography practices for both landscapes and wildlife.
Essential Gear for Travel Landscape and Wildlife Photography
Travel requires balancing capability with portability. A versatile camera body that performs well in varied light is ideal. Many photographers favor systems that support high-quality autofocus and good high-ISO performance.
Lens choice is critical. Wide-angle lenses (typically in the 14-35mm range) excel for sweeping landscapes, allowing inclusion of foreground interest and dramatic skies. For wildlife, telephoto lenses of 200mm and longer—preferably 400mm or more—bring distant subjects closer without disturbing them. Zoom lenses offer flexibility for travelers who prefer not to change lenses frequently in the field. A mid-range zoom can bridge both genres.
A sturdy yet lightweight tripod supports sharp landscape images at small apertures and low ISO, and it aids long exposures. For wildlife, a monopod or bean bag can provide stability during extended waits. Extra batteries, high-capacity memory cards, a polarizing filter for landscapes, lens cloths, and weather protection complete a practical kit. Shooting in RAW format preserves maximum detail for later editing.
Mastering Light: The Foundation of Great Travel Photos
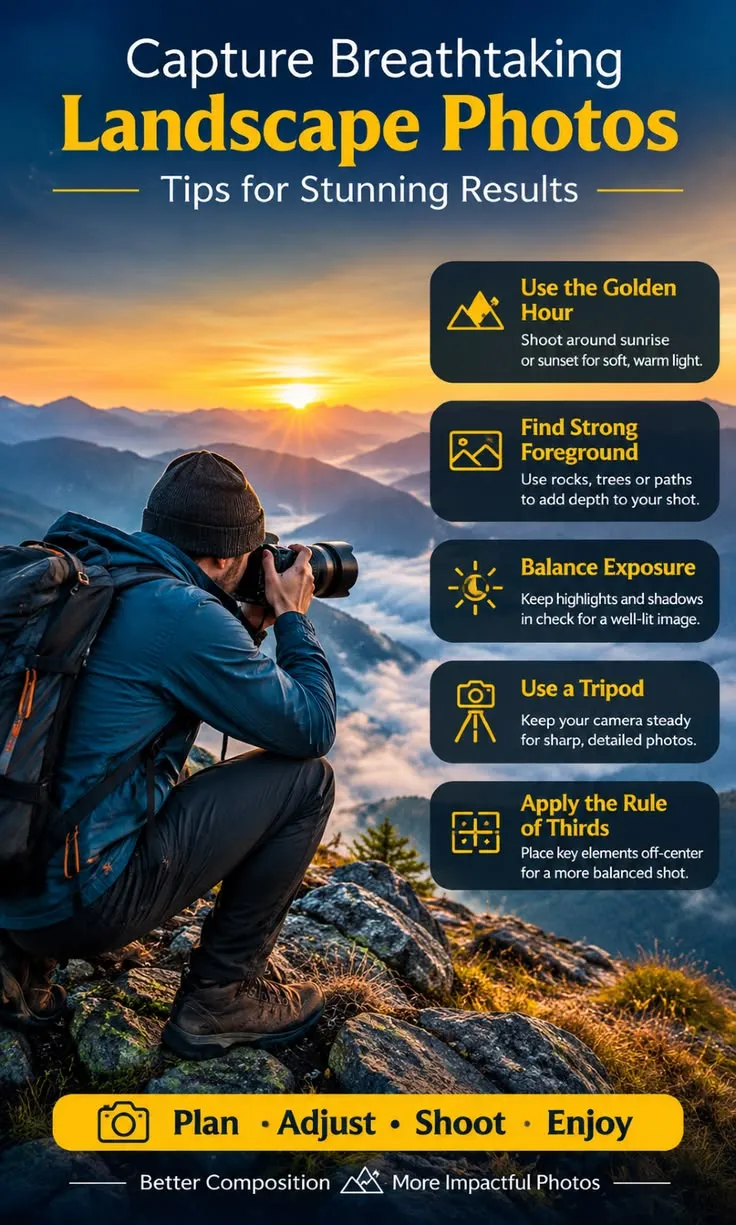
Light shapes every successful image. The golden hour—shortly after sunrise and before sunset—delivers warm, directional light with soft shadows and rich color. This period enhances texture in landscapes and creates attractive catchlights in animals’ eyes. Blue hour, the period of twilight, can produce moody atmospheric scenes, especially with a tripod.
Overcast conditions act like a giant softbox, ideal for forests, waterfalls, and evenly lit wildlife portraits. Harsh midday light works better for graphic shapes or high-contrast scenes. Side lighting emphasizes form and depth, while backlighting can create dramatic silhouettes or rim light when carefully exposed. Many experienced photographers underexpose slightly to protect highlights.
Plan shoots around local sunrise and sunset times. Animals are often most active during the cooler golden-hour periods, aligning wildlife opportunities with the best light.
Capturing Stunning Landscapes: Composition and Technique
Strong landscape images rely on more than beautiful scenery. Composition creates depth and guides the viewer’s eye. Apply the rule of thirds by placing key elements along imaginary grid lines or at their intersections rather than centering everything. Position the horizon in the upper or lower third depending on whether the sky or foreground deserves emphasis.
Include foreground interest—rocks, flowers, paths, or water—to create a sense of depth and invite the viewer into the scene. Leading lines such as rivers, shorelines, trails, or ridges direct attention toward the main subject. Layer the image with distinct foreground, middle ground, and background elements for three-dimensional feel. Including a recognizable scale reference, such as a person or tree, helps convey the vastness of a location.
Camera settings for landscapes commonly start with an aperture of f/8 to f/11 for sufficient depth of field, ISO 100 (or as low as practical) for clean files, and a shutter speed determined by available light—often requiring a tripod for sharpness. Use hyperfocal focusing or focus stacking when maximum front-to-back sharpness is needed. A polarizing filter reduces glare on foliage and water while deepening sky colors.
Scout locations in advance when possible, note weather patterns, and arrive early. Walk around a scene before setting up to discover stronger angles. Vertical orientations and panoramas can better capture expansive vistas. Experiment with long exposures using neutral-density filters to smooth water or blur clouds for a more ethereal effect.
Wildlife Photography: Patience, Ethics, and Technical Control
Successful wildlife images begin with knowledge and respect. Research animal behavior, preferred habitats, seasonal activity, and the best times of day. Understand that getting the photograph should never come at the expense of the animal’s welfare. Maintain safe distances, avoid blocking paths to food or water, and leave if an animal shows signs of stress. Choose operators and locations that prioritize ethical viewing practices.
Get your camera to the animal’s eye level whenever possible. Looking down diminishes the subject; shooting from a lower angle creates a more powerful, engaging perspective. Use continuous autofocus (AF-C or servo mode) with subject or eye detection when available. Back-button focus separates focusing from the shutter release for greater control.
Shutter speed is paramount for freezing motion. For relatively still subjects, 1/250 to 1/500 second often works. Walking or grazing animals may need 1/500 to 1/1000 second. Running mammals or large birds in flight typically require 1/1000 to 1/2500 second, while small or fast-flying birds may demand 1/2500 to 1/4000 second or higher. Use the widest practical aperture (often f/4 to f/5.6 or the lens’s maximum) to isolate the subject and gather light, then raise ISO as needed—modern cameras handle higher ISO values well when sharpness takes priority over noise.
Leave space in the direction the animal is looking or moving (lead room). Apply the rule of thirds and negative space thoughtfully. Environmental portraits that show the animal in its habitat often tell a stronger story than tight headshots alone.
Practical Field Strategies for Travelers
Arrive prepared. Weather can change quickly, so dress in layers and protect gear from rain or dust. Carry binoculars to spot subjects from a distance. Use custom camera modes if available—one set optimized for landscapes (depth of field priority, low ISO) and another for wildlife (shutter priority, continuous AF)—to switch quickly.
Shoot in bursts when action unfolds. Review histograms rather than relying solely on the LCD preview. When light is low, accept higher ISO for a sharp image rather than risking blur. Practice panning with slower shutter speeds occasionally to convey motion through a blurred background while keeping the subject relatively sharp.
Post-processing plays an important role. RAW files allow recovery of detail, refined exposure, and careful noise reduction. Subtle adjustments that enhance the natural scene usually outperform heavy effects.
Building Better Images Over Time
Improvement comes from deliberate practice. Revisit locations under different light and weather. Study successful images to understand why they work—light direction, compositional balance, emotional impact. Focus on storytelling: a landscape that conveys solitude or scale, or a wildlife image that reveals behavior, will resonate more than a technically perfect but empty frame.
Travel photography rewards those who combine technical competence with curiosity and patience. By prioritizing light, refining composition, selecting appropriate gear and settings, and always putting the welfare of wildlife first, photographers can create images that both document and celebrate the natural world. The most memorable photographs often result not from the most exotic destinations, but from thoughtful observation and readiness when the right moment arrives.
Read more – wishdua.com
